Embedding the dashboard editor in your frontend
Having successfully requested a SSO key and token in your backend, you can use them in your frontend to grant your users access to view and/or edit embedded dashboards within your application!
We have different components available to support your application's frontend framework. The following resources should help in setting up the initial frontend embedding:
- Web component: more information can be found in our developer documentation.
- Angular component: more information can be found in our developer documentation.
- React component: more information can be found in our developer documentation.
- React Native component: more information can be found in our developer documentation.
- Vue.js component: more information can be found in our developer documentation.
 After successfully creating your Integration in our UI we provide you with a code snippet for the necessary frontend code for the libraries above. You can simply copy this and fill in the required properties to embed dashboards in your frontend!
Define colors to seamlessly fit into your application
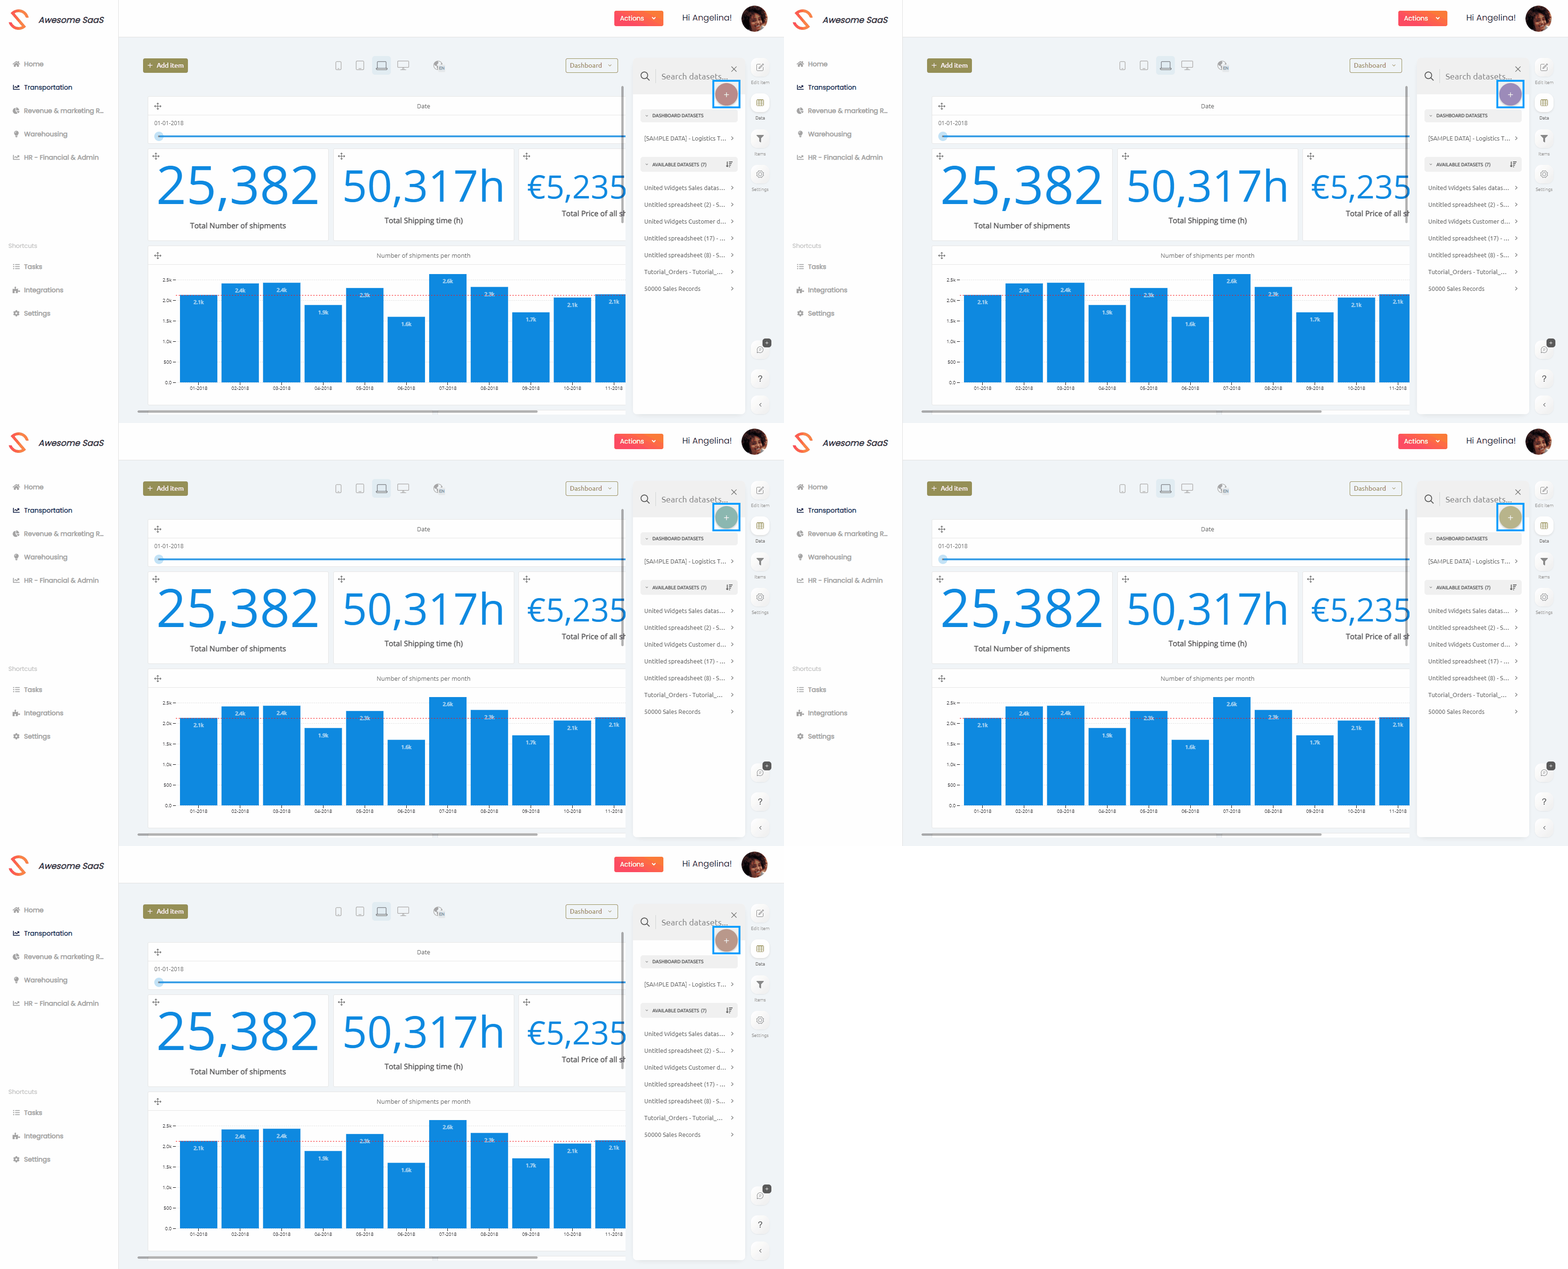
You can ensure that the embedded dashboard editor's action buttons use your desired colors by specifying rgb colors (i.e. 'rgb(R, G, B)') for the mainColor and accentColor properties in your frontend! Below, you can see a code snippet for the Web component and two gifs showing how these color properties influence the dashboard editor!
<luzmo-dashboard
  appServer="< https://app.luzmo.com (default) or https://app.us.luzmo.com/ or your VPC-specific address >"
  dashboardId="< a dashboard id >"
  authKey="< SSO key >"
  authToken="< SSO token >"
  mainColor="rgb(0, 157, 255)"
  accentColor="rgb(255, 165, 0)"
  editMode="editLimited">
</luzmo-dashboard>
 Changing the mainColor property will influence the color used for the "Add item", "Dashboard" and side menu buttons.
 Changing the accentColor property will influence the color used for the "Add dataset" button.
Different dashboard edit modes
After setting up the basic frontend embedding code, make sure (certain) dashboards can be opened in a specific edit mode. This is where the editMode property comes into play! Below, you can find a small flow diagram to facilitate setting the right edit mode, and after that, a short explanation of each edit mode is given, together with the steps required to load / switch to it!

view mode
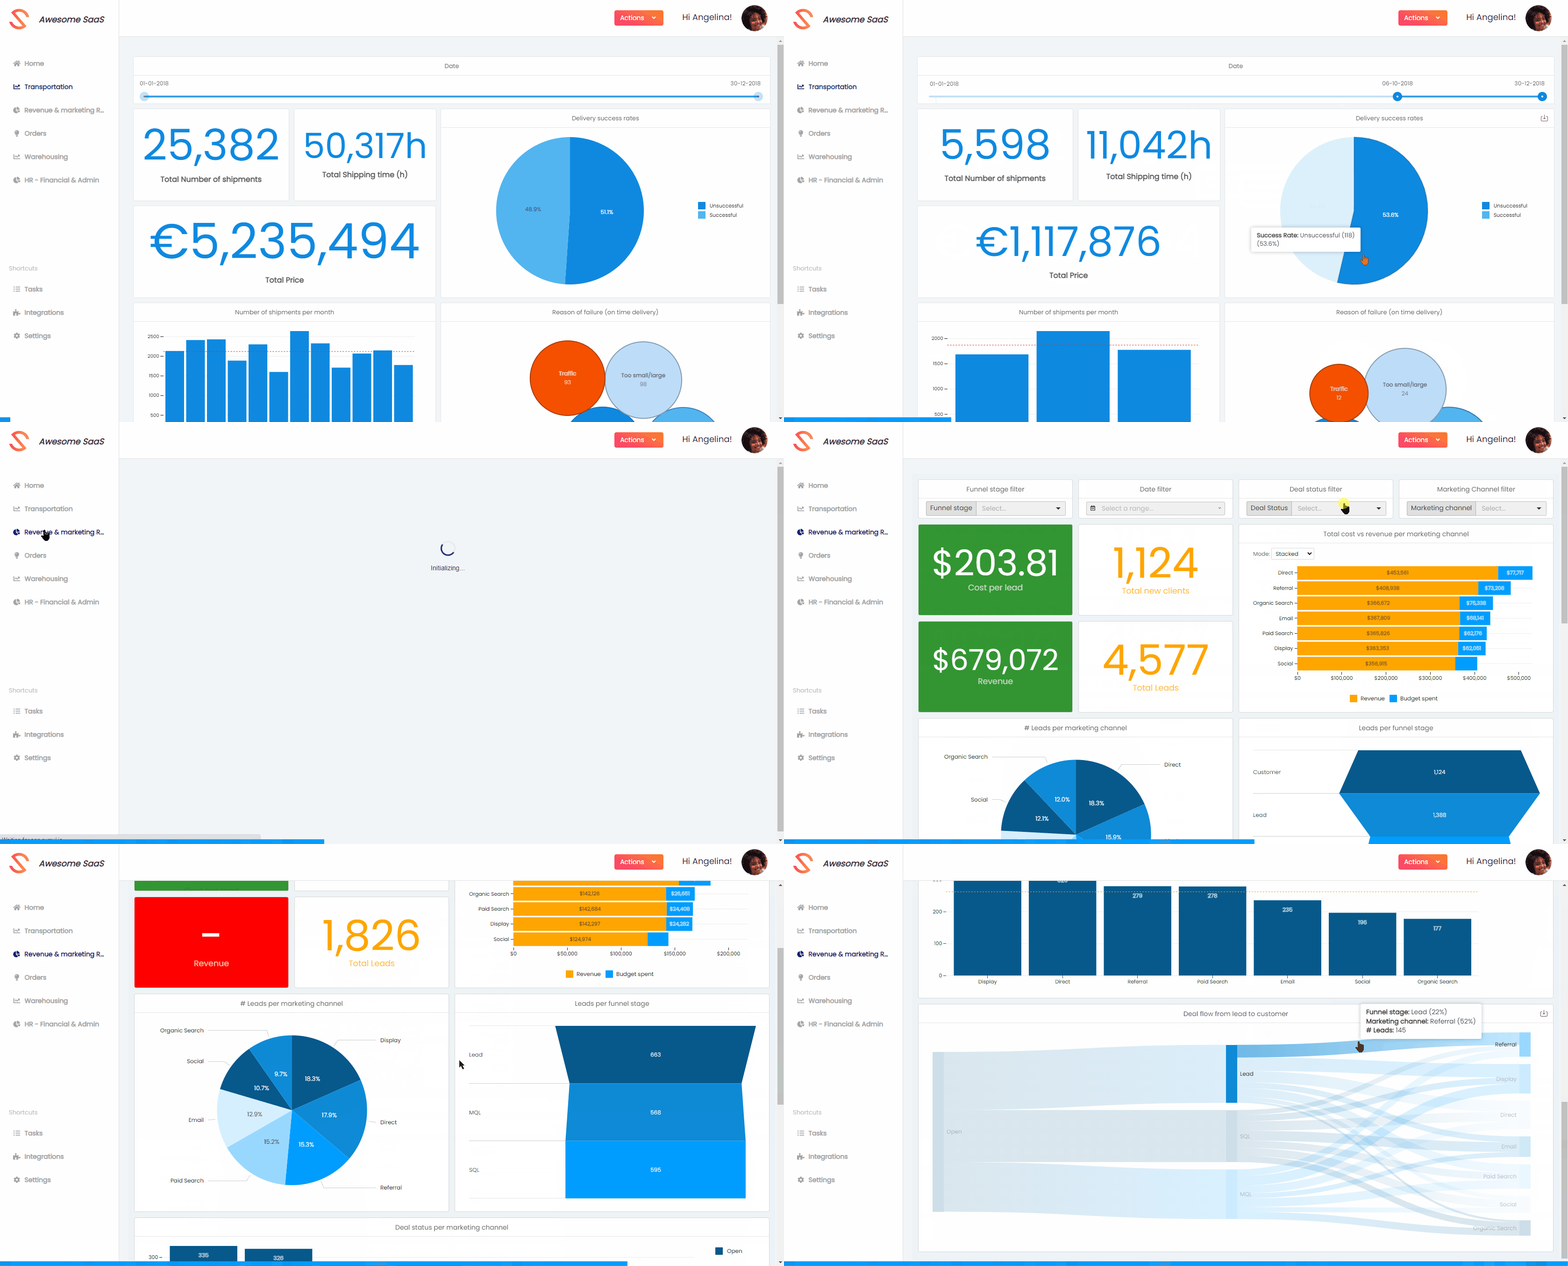
View mode enables your users to view and interact with an embedded dashboard, without having the option to change the dashboard itself! This is useful for dashboards that you fully manage for your users (i.e. they should only be able to view and interact with these embedded dashboards).
Loading a dashboard in view mode
- Specify authorization key and token.
- Specify dashboardId/dashboardSlug (if you want to open a new dashboard, you should specify "new" as dashboardId/dashboardSlug).
- Specify editMode as "view". As editMode "view" is the default mode, specifying the editMode as view is optional. You will often will need to specify "view" editMode to revert from editLimited / editFull mode. You can specify the editMode in two ways:
- directly on the component: changing the dashboardId/dashboardSlug (e.g. user selecting a different dashboard in your UI) will also automatically load the new dashboard in the specified editMode.
- via setEditMode method: changing the dashboardId/dashboardSlug (e.g. user selecting a different dashboard in your UI) will not automatically load the new dashboard in the specified editMode (i.e. either in the default editMode "view" or in the editMode as specified on the component property).

editLimited mode
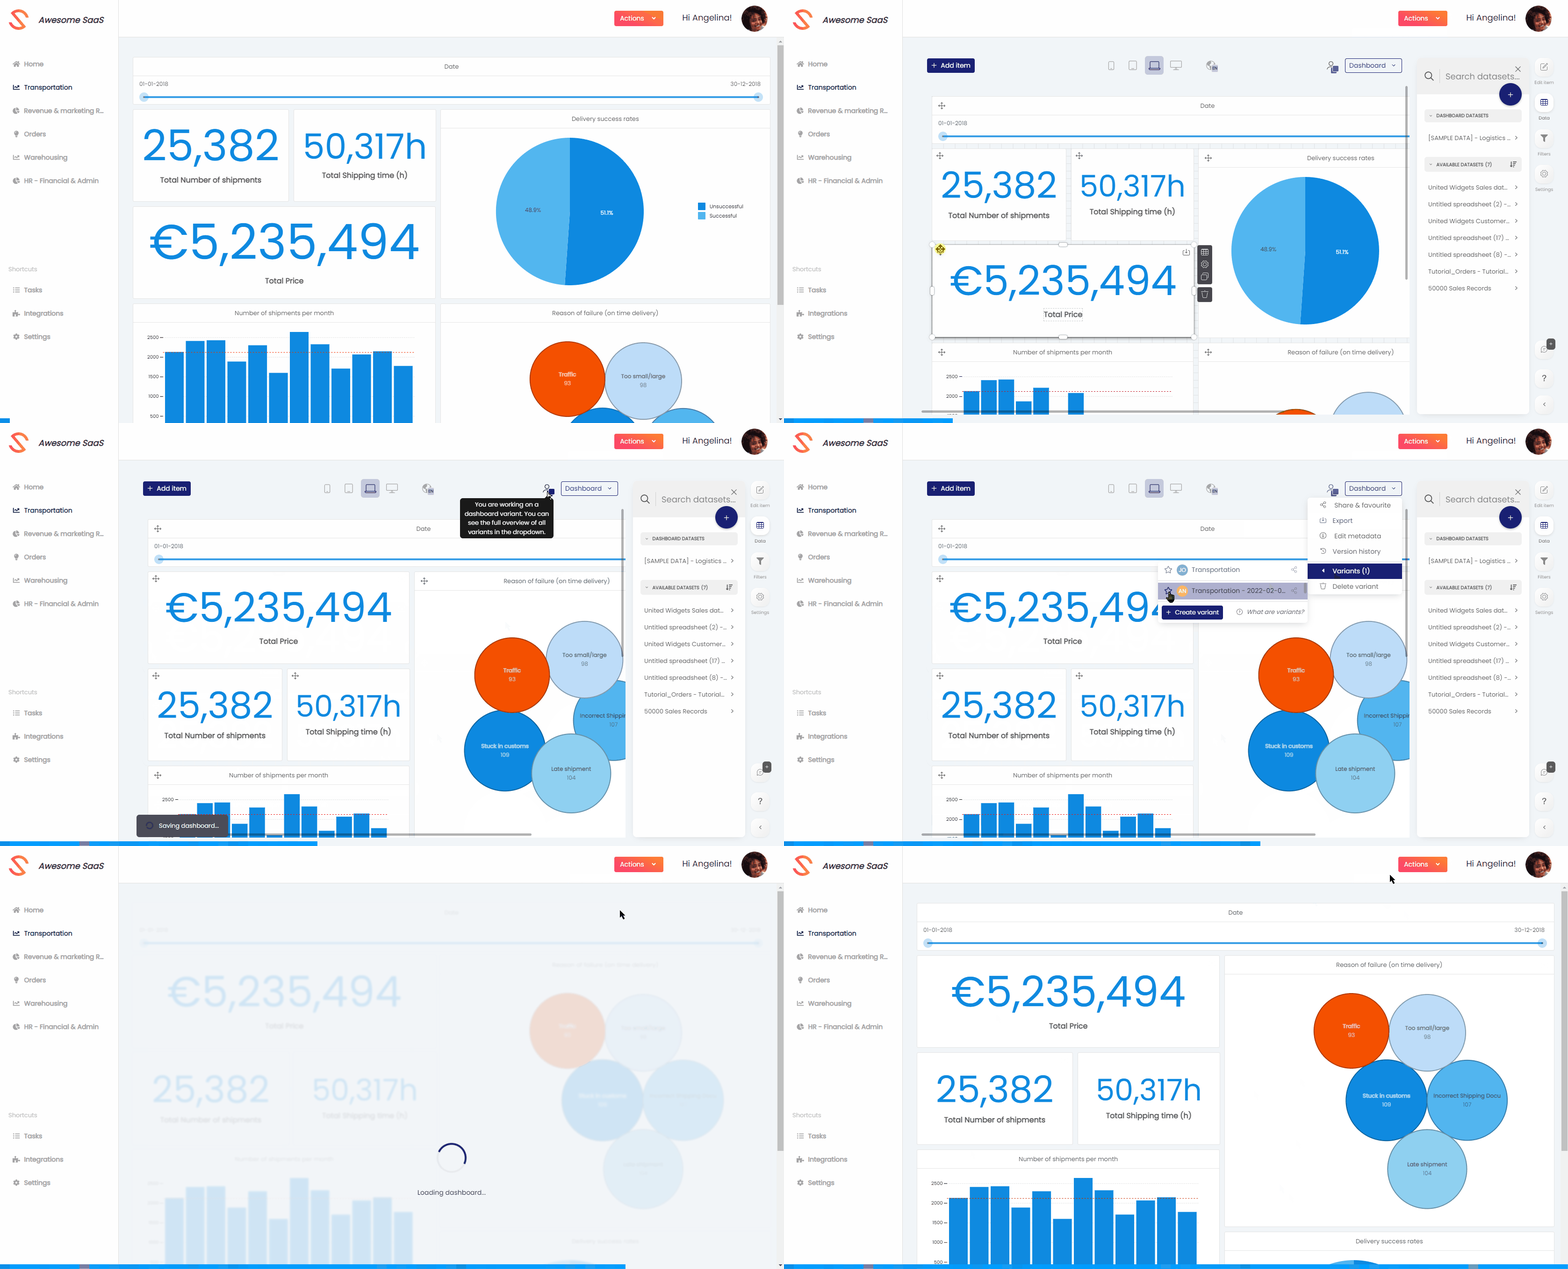
The editLimited mode is useful if you have your own dashboard navigation in your application (e.g. a sidebar containing dashboard tabs or a dropdown) and would like the user to edit (some of) the dashboards (e.g. by adding an “Edit” button that toggles the editMode between “view” and “editLimited” mode).
When switching from view mode to editLimited mode:
- If the user has "can use" rights on the dashboard, a new variant will be automatically created for dashboards in editLimited mode.
- If a dashboard variant was already created and favorited for this SSO user, the favorited dashboard will be shown by default in "view" editMode for this SSO user.
- If a dashboard variant was already created, but not favorited for this SSO user, the user will recieve a prompt asking if they would like to continue editing their previous variant or to create a new variant.
- If the user has "can edit" rights on the dashboard, the user will directly edit the original dashboard.
Loading a dashboard in editLimited mode
- Specify authorization key and token.
- Specify dashboardId/dashboardSlug (if you want to open a new dashboard, you should specify "new" as dashboardId/dashboardSlug).
- Change editMode to "editLimited" when e.g. the user clicks on an "Edit dashboard" button in your UI (If you want to immediately open the dashboard in editLimited mode, you should set the editMode before setting the authorization and dashboard identifier properties).
- directly on the component: changing the dashboardId/dashboardSlug (e.g. user selecting a different dashboard in your UI) will also automatically load the new dashboard in the specified editMode.
- via setEditMode method: changing the dashboardId/dashboardSlug (e.g. user selecting a different dashboard in your UI) will not automatically load the new dashboard in the specified editMode (i.e. either in the default editMode "view" or in the editMode as specified on the component property).

editFull mode
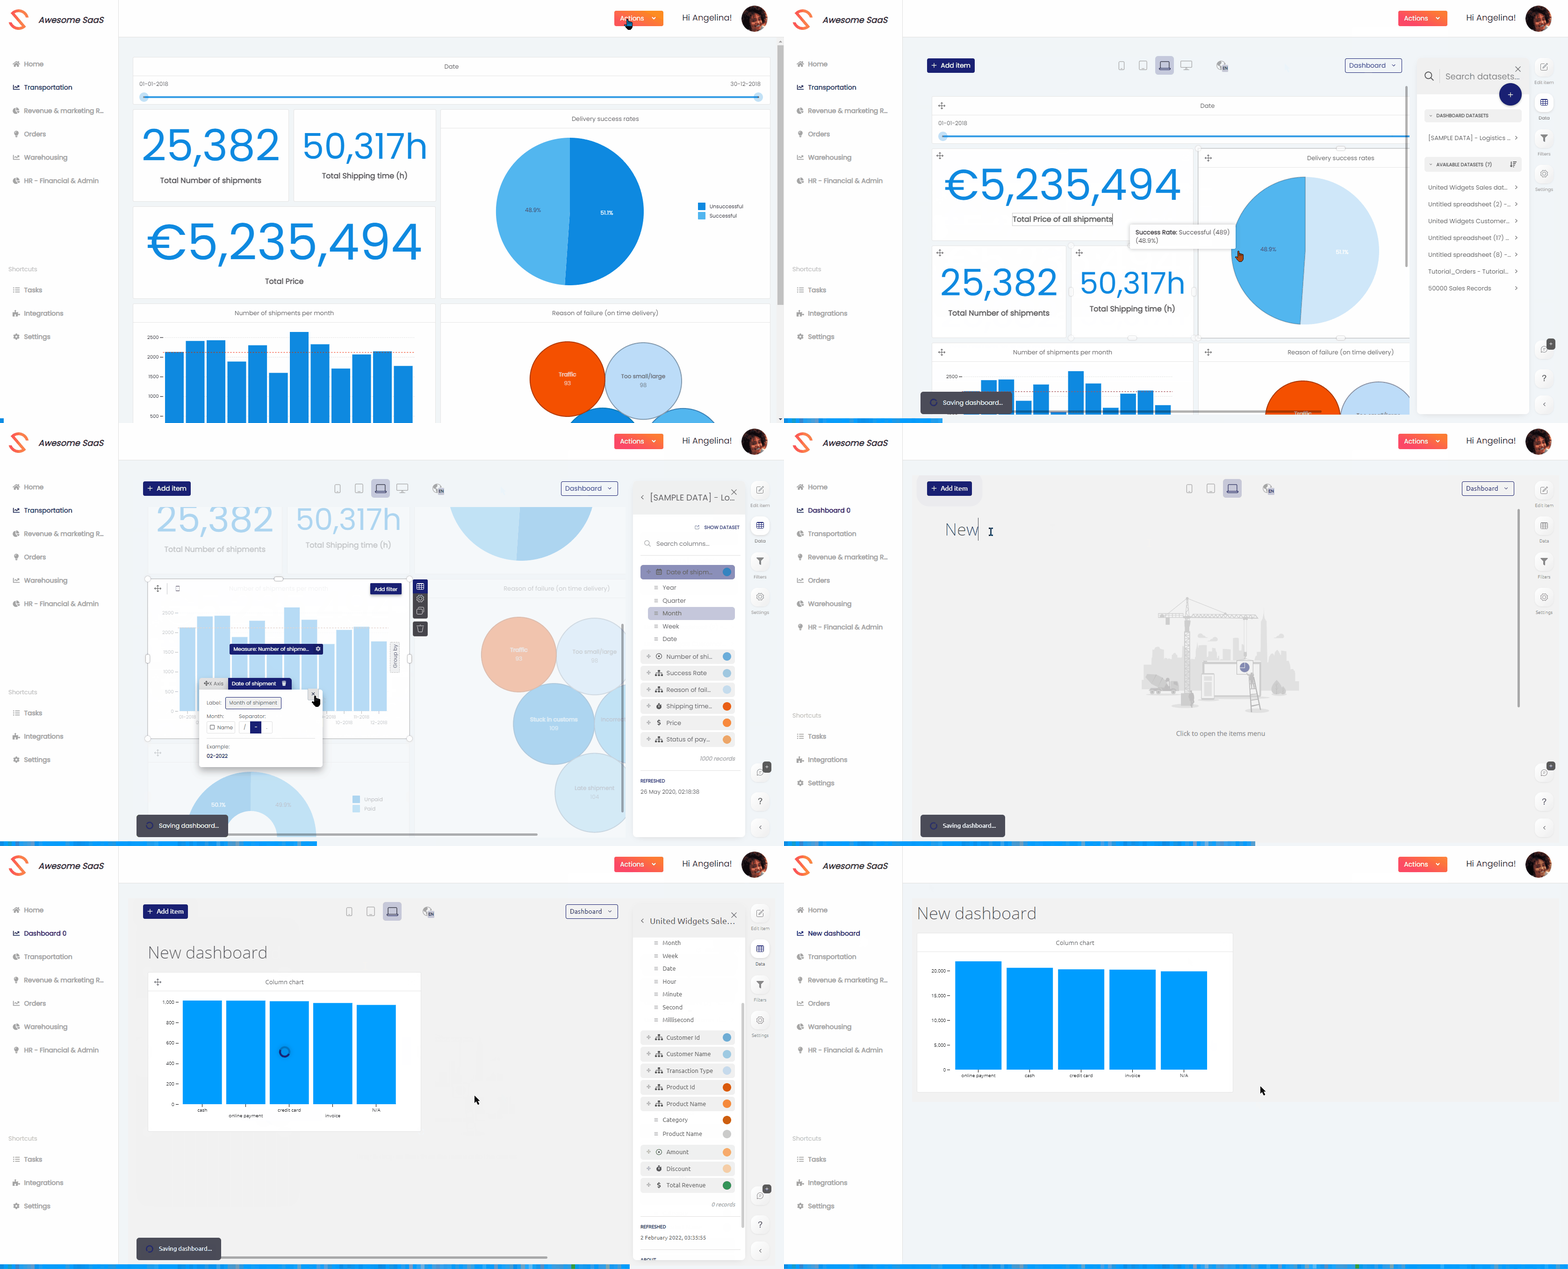
The last mode is the editFull mode: this is useful if you have a dedicated place in your application, where users should be able to create & edit all their accessible dashboard(s) (e.g. in your navigation bar, you have a “Dashboard editor” tab that should show the embedded dashboard editor). In editFull mode, the editor will provide navigation to new or other accessible dashboards!
Loading a dashboard in editFull mode
- Specify editMode "editFull" (to open new/existing dashboards in editFull mode).
- Specify authorization key and token.
- Specify dashboardId/dashboardSlug (if you want to open a new dashboard, you should specify "new" as dashboardId/dashboardSlug).

Congratulations: you successfully went through the few steps needed to set up the embedded dashboard editor! 🎉
The next article will explain how you can dynamically create your dashboard navigation, based on the dashboards accessible to your user.