How to make the embedded dashboard editor a success in your application
Having successfully set up the embedded dashboard editor, it is time to get the ball rolling with your users! Before exposing an embedded dashboard editor to your users, we would like to give the following recommendations to ensure its success! 😊
Make it fit seamlessly in your app
There are a few properties you should take into account to ensure a perfect fit!
- Specify your desired email address and display name: this will be used to send transactional mails (scheduled exports, alerts, etc.). Organization owners can set this up in their profile under White-labeling.
- Configure the interface, dashboard and dataset in the language of your end users, more information in this Academy article. For the elements specific to the dashboard editor you may use the
editorLanguageproperty of the embedded component, more information can be found here in our developer documentation. - Define the mainColor property in the frontend component to color the dashboard editor's UI elements according to your application. Next to that, you can also define the loaderBackground, loaderFontColor, loaderSpinnerColor, and loaderSpinnerBackground to style the loaders! All properties are explained in the Developer documentation's Embedding chapter.
- Lock the dashboard themes & CSS injection in the authorization request. More information in this Academy article.
Define the main color
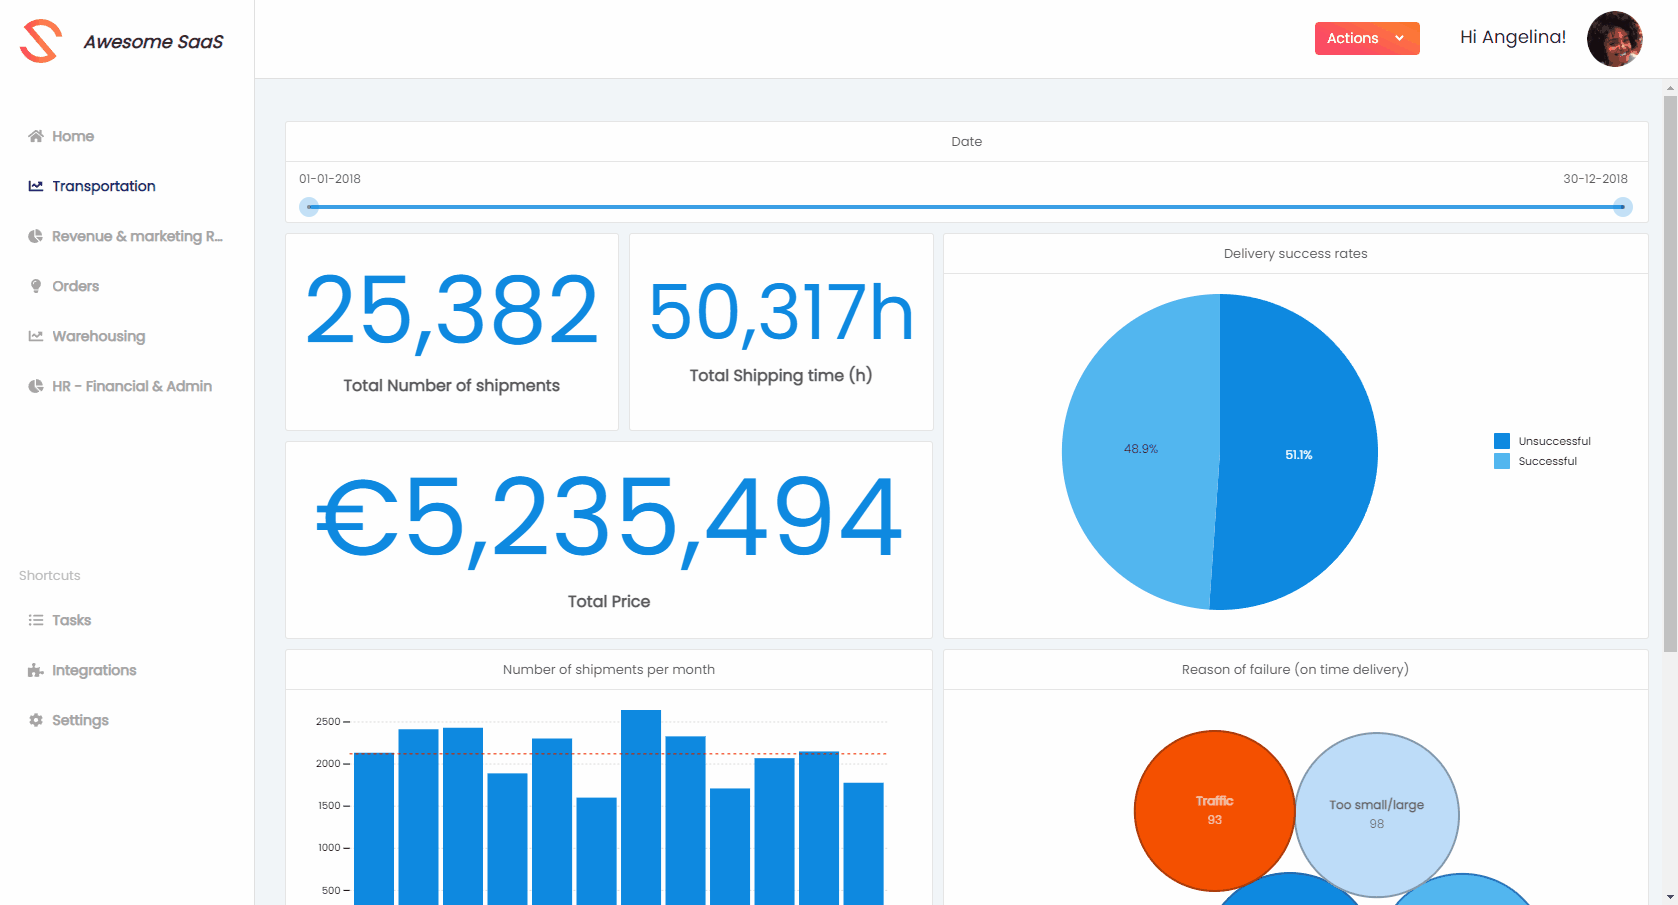
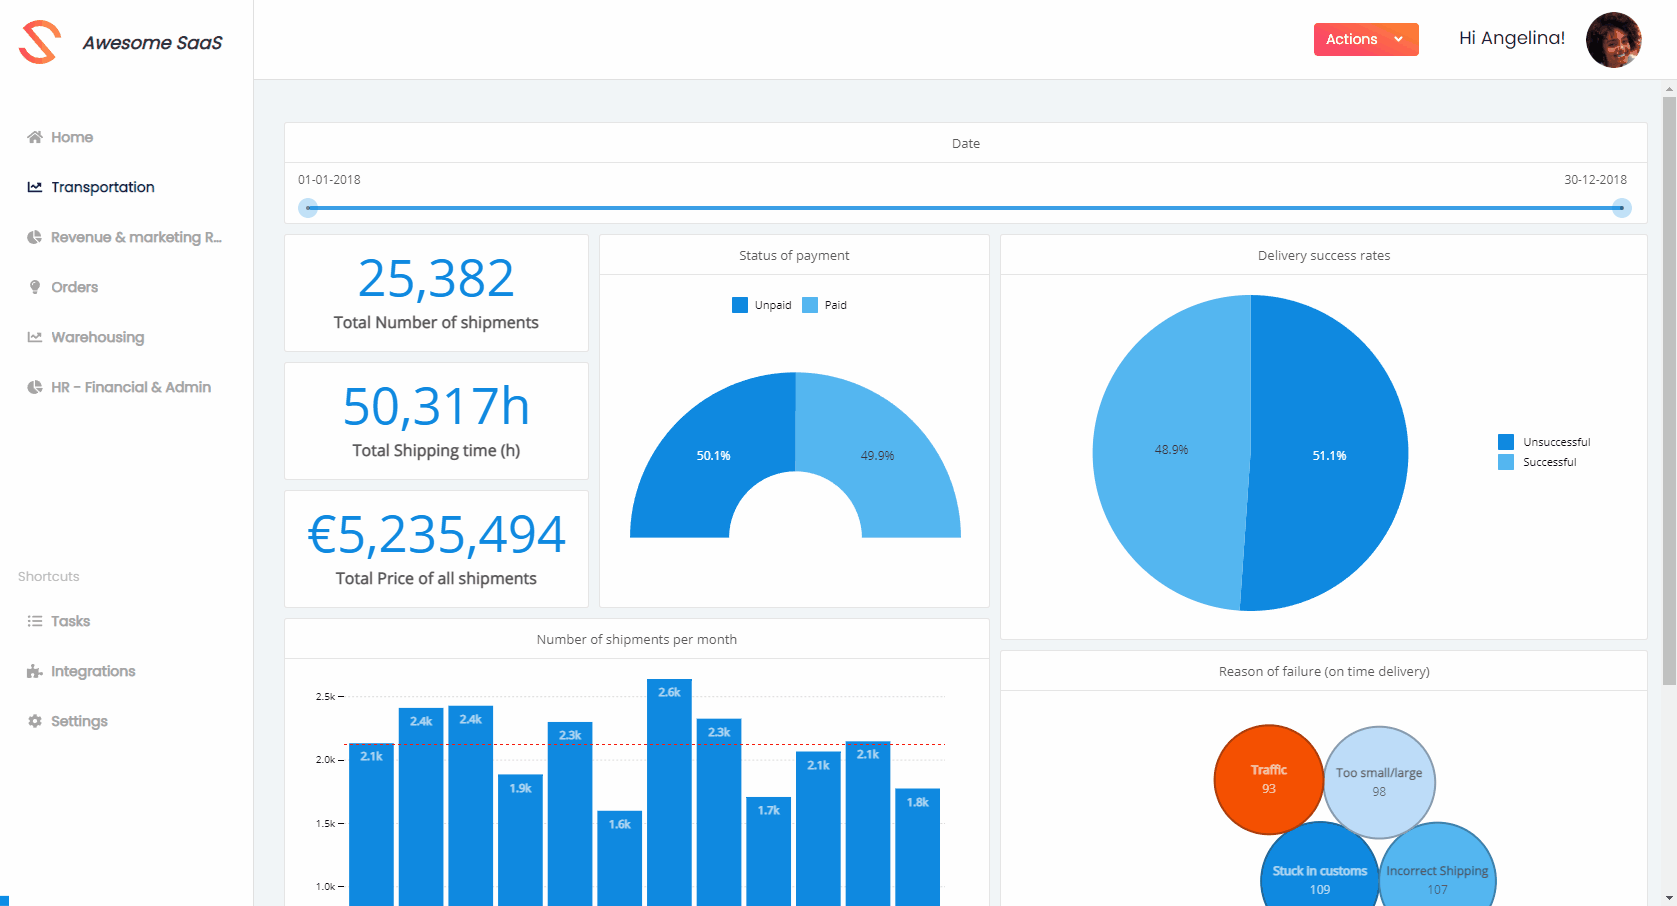
You can ensure that the embedded dashboard editor's action buttons use your desired colors by specifying rgb colors (i.e. 'rgb(R, G, B)') for the mainColor property in your frontend! Below, you can see a code snippet for the Web component and two gifs showing how this color property influences the dashboard editor!
<luzmo-dashboard
  appServer="< https://app.luzmo.com (default) or https://app.us.luzmo.com/ or your VPC-specific address >"
  dashboardId="< a dashboard id >"
  authKey="< SSO key >"
  authToken="< SSO token >"
  mainColor="rgb(0, 157, 255)"
  editMode="editLimited">
</luzmo-dashboard>
 Changing the mainColor property will influence the color used for the "Add item", "Dashboard" and side menu buttons.
Give your users a jump-start
By providing your users with one or more template dashboards, you can provide general insights and enable them to create their own variants of these dashboards, if they want to customize the insights to their liking!
Provide an easy-to-use and performant analytical data model
This will facilitate non-technical users to create and edit dashboards! A few tips:
- Denormalize your tables per topic / use-case. This will avoid joins, which are often difficult to understand for non-technical users. Additionally, it will ensure that the charts' queries are as performant as possible, because joins are often heavy operations. This Academy article explains this denormalization in further detail, using some example tables!
- Only include dimension and measure columns that are relevant for your users (e.g. only object names instead of IDs).
- Give names to datasets and columns which are meaningful to your users.
- Translate database values to business relevant values, e.g. translate the values true or false in the package delivered column to "delivered" or "not delivered".
Provide column descriptions for your datasets
Column descriptions give your users more context than column names can provide alone. Column descriptions are available to your users by hovering over the (i) icon beside any column in the dashboard editor's data tab.
These descriptions can be created and edited by opening a dataset and clicking the "edit details" button. In the "Columns" section on the left, click on any description to edit it, or click on the top right the "Improve Metadata" menu and then "Create missing descriptions" to use AI to infer column descriptions from the dataset name, column names and types.
Improve your metadata with AI suggestions
Run Metadata Suggestions to quickly improve your dataset schema by receiving clear, actionable recommendations for column names and column types. You can request suggestions by opening a dataset and clicking "Edit details". In the top-right, open the "Improve Metadata" menu and select "Suggest metadata improvements".
Metadata Suggestions uses AI to reason from the dataset title, column names and column descriptions (it does not inspect cell values) and proposes metadata-only changes.
For example: order → order_id, or price → unit_price with a CURRENCY type. For currency fields, you can choose which currency to apply to the column.
Note the limits: the feature does not inspect values or modify data. Review each recommendation and Accept or Ignore it to update the metadata. You can also Accept All suggestions at once.
Even after applying a suggestion, you can always edit the column name and/or the type.
Show your users only the columns they need
When preseting the datasets to be used in the embedded editor, there may be columns which are not relevant for the user, such as columns used for multitenancy filtering. By hiding unnecessary columns, the embedded editor users will be able to find the columns they need more quickly. To achieve this, when creating the authorization token, you can use the "hidden_columns" property to specify a list of columns to be hidden to only show the most relevant ones, for example:
let promise = client.create('authorization', {
  type: 'embed',
  username: '12345678',
  suborganization: 'Burrito Co.',
  name: 'Embed user',
  email : 'embed_user@example.com',
  role: 'editor',
  hidden_columns: [
    "12345678-abcd-1234-abcd-1234567890ab",
    "abcdefgh-1234-abcd-1234-abcdefghijkl"
  ],
  access: {
    collections: [
      {
        id: COLLECTION_ID,
        inheritRights: 'use'
      }
    ]
  }
});
All the columns listed will be hidden, meaning the user won't be able to use them to create charts, filter on, and so on. Charts, filters, ... using the columns will work.
Educate your users
Our editor is built for non-technical users. However, using a new tool always has a learning curve. To ensure proper engagement, it makes sense to give your users a quick tutorial on how to use the embedded dashboard editor inside your application and get the most value out of it.
We included an embedded dashboard editor tour, with which you can walk your users through the entire editor experience, step-by-step!
We also provide train-the-trainer workshops as Professional Services. During these workshops, Luzmo will teach you how to educate and guide your users in building their own dashboards. In case this would be of interest, do not hesitate to reach out to your dedicated contact person at Luzmo!
Provide support to your users
As your users might have questions specific to a dashboard (variant) that they build, it will be important to allow your support team to access the user-generated content of your users. You can, for example, implement a mechanism that allows you to impersonate any embed user! By making the same authorization request (shown in this Academy article) as you would for a specific user, you can use the returned embed key and token from Luzmo to access all content that is accessible by the embed user.
You could thus create an admin portal in your application where your support team can select a specific user and show your application's insights similar to how that user would see it: this will allow you to be of service to your users if they request assistance with dashboards or datasets that only they have access to (e.g. dashboard variants, custom dashboards, custom datasets, etc.)!