Request a SSO token in your backend
In the previous articles, we have shown how to associate dashboards and (filtered) datasets with an Integration. Now that your Integration has been set up properly in Luzmo, it is time to start building your application.
When embedding your Luzmo dashboards securely in your platform, you will first need to retrieve a SSO authorization token. This SSO token grants temporary access to a specific Integration.
This request for a SSO authorization token should occur in your backend (server-side code). Within this request you can specify certain properties to ensure a multi-tenant setup of your embedded dashboards (setting up your multi-tenancy is discussed in this Academy article). It is at this stage where you specify the role for your users: more information on that below!
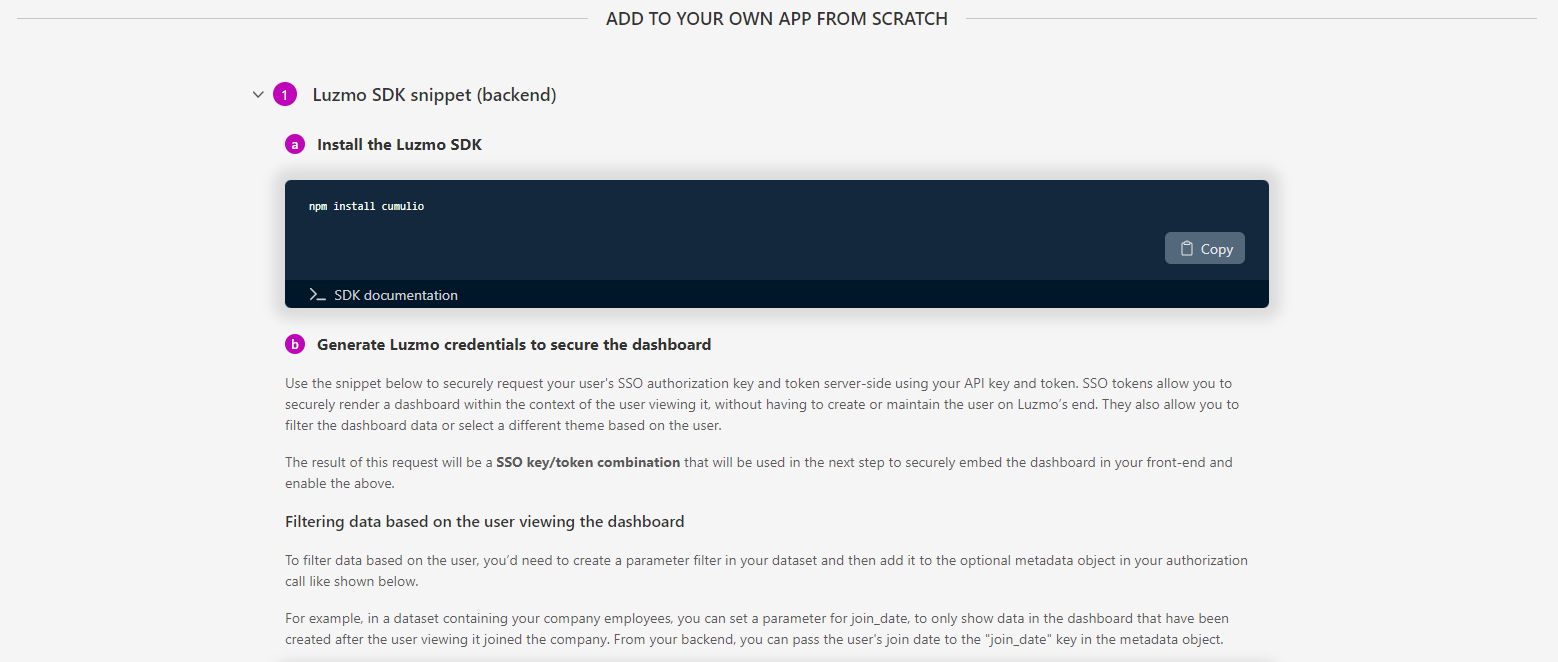 After successfully creating your Integration, you will receive a presentation of the necessary backend code from our supported SDKs (more on this below). Simply copy the code presented to you and fill in the necessary fields for an effortless integration!
Server-side SDK's
We provide SDK's for various backend libraries. These SDK's provide a ready-made alternative to having to code API calls yourself. All SDK's can be found here in our Developer documentation, and you can see the corresponding code examples by using the selectors on the top right of the Developer documentation page.
If we currently do not provide an SDK for your backend library, don't worry: Luzmo's API's all use REST calls with default HTTP verbs and JSON content, and so it should be fairly easy to write these calls yourself. 😉
SSO Authorization request
In its simplest form (i.e. not providing any properties for a multitenant dashboard setup) you should specify:
- The type of the authorization you want to create, "sso" in this case.
- integration_id: the UUID of the Integration
- username: identifies the user uniquely and immutably. This should correspond to e.g. the primary key for the user on your end. If it changes, the user will not have access to his previously created content, anymore. Do not use eg. an e-mail address, if those can change in your platform!
- email, name: basic info on the user, to show e.g. who is the dashboard author. The full name (i.e. first name and last name) is expected.
- suborganization: each SSO token should be in a suborganization. The suborganization determines who can be seen and with whom one can share dashboards and datasets. It is required to assign a suborganization - accidentally forgetting to set it would cause all users to see each other! If you want totally isolated users, set each SSO suborganization a unique username.
- role: below, you can find the different roles. In the next section, a flow diagram will assist you in setting the right role for your user!
- "viewer" - SSO users that should only be able to view and interact with one or more dashboards/variants/duplicates.
- "designer" - SSO users that should be able to create, edit, view and interact with one or more dashboards/variants/duplicates
- "owner" - SSO users that should be able to create, edit, view and interact with one or more dashboards/variants/duplicates, and next to that they should be able to favorite dashboard variants for other SSO users within their suborganization.
- (optionally) The moment at which the SSO authorization should be invalidated by filling the property expiry. You can either provide this as a specific timestamp or as an interval, e.g. "1 day", which will be translated to a specific timestamp by Luzmo (this translated timestamp will be available in the response from Luzmo). SSO tokens have a default maximum expiry date of 1 year - enforced to promote better security practices. We recommend setting it to 1 day.
- (optionally) With the property inactivity_interval, you can specify an inactivity interval (e.g. "10 minutes") after which a SSO token should be prematurely invalidated if there has been no activity. We enforce a minimum inactivity interval of at least 2 minutes, if specified, to avoid accidental invalidation for a dashboard that is still open: for example, when a heartbeat signal sent from the server is missed. While it is optional to set an inactivity interval, we do advise to specify it for security reasons.
There is no limit on the number of SSO tokens that you can request, and so we recommend requesting a SSO token each time the user does an action in your platform that would require a SSO token (e.g. navigating to another embedded dashboard). This prevents users running into errors because of tokens that expired due to inactivity!
SSO user role
To facilitate deciding which role you should specify in the authorization request for your user(s), we added below a small flow diagram! 
Code example (Node.js)
const Luzmo = require('@luzmo/nodejs-sdk');
var client = new Luzmo({
    api_key: '< Your API key >',
    api_token: '< Your API token >'
  });

let promise = client.create('authorization', {
  type: 'sso',
  username: '12345678',
  suborganization: 'Burrito Co.',
  name: 'SSO user',
  email : 'sso_user@example.com',
  expiry: '24 hours',
  inactivity_interval: '10 minutes',
  integration_id: '<integration_id>',
  role: 'designer'
});

promise.then(function(result){
  // return result.id and result.token to the client
})
In case you are interested in toggling certain features (e.g. exporting, alerting, etc.) for your users, this Academy article will show you all feature flags which you can override on a user-level by specifying them in the SSO authorization request!
As a result, you will receive a temporary SSO authorization token from Luzmo. This is a JSON object with an id/token combination:
{
  "type": "sso",
  "id": "< the authorization key >",
  "token": "< the authorization token >",
  "user_id": "< the SSO user id >," // This will stay the same for consecutive SSO authorization requests,
                                    // and it is used on our end to manage user-specific content such as alerts
  ...
}
The second step is to use this SSO token in your frontend to embed the dashboard and optionally add dashboard designing possibities: this is all neatly explained in our next article.